
How to Assemble Office Cubicles in 30 Minutes?
Assembling an office cubicle may sound complicated at first.
The process can feel even harder when time is limited, and the workspace is small.
Still, with the right system, it can be done much faster than most people expect.
So, the question is: How to Assemble Office Cubicles in 30 Minutes?
To assemble office cubicles in 30 minutes, pre-organize all parts, connect panels using clips or brackets, secure the frame, then attach desks and accessories—working in a team speeds up the process.
The key is to follow a clear order.
No special tools are needed. Most pieces simply lock into place.
In this article, we will walk you through a practical step-by-step process for assembling an office cubicle in less than half an hour.
From preparing the space to connecting the components, each step is designed to save time and reduce stress.
Fast-Assembly Cubicle Systems: A Quick Overview
Fast-assembly cubicle systems are a functional solution for modern offices that need a quick and simple setup.
These modular plug-and-play cubicles are designed to save time, reduce effort, and make office installation easier for teams of all sizes.
Unlike traditional office furniture Houston, these cubicle systems often come with lightweight parts, pre-attached hardware, and an easy cubicle installation process.
In many cases, no special tools are needed.
That makes them a practical choice for businesses that want to set up workspaces fast without hiring professional installers.
The main benefits of fast-assembly cubicle systems include:
- No tools required
- Lightweight components
- Pre-attached hardware
- Easy setup for non-professionals
- Less time spent on installation
If you are looking for an easier way to furnish your office, a modular cubicle system can be a strong choice.
Pre-Assembly Preparation
Before you start assembling an office cubicle, good preparation can save time and avoid mistakes.
A few simple steps can make the whole process much easier.
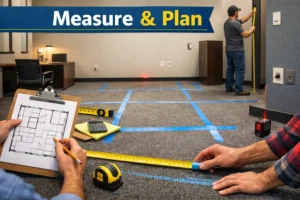
 1. Measure and Plan
 1. Measure and Plan
First, measure the room, entryways, and the space where each cubicle will go.
This helps you make sure the layout fits the office properly.
Use tape or chalk to mark the cubicle positions on the floor.
It is also important to check the flooring level and note the locations of lights, outlets, or other fixed features.
2. Gather Components and Tools
Next, gather all the parts and tools before the office cubicle installation begins.
Most modular cubicles need only a few basic tools, such as a level and, in some cases, a screwdriver.
Typical cubicle components include:
- Panels
- Connectors or posts
- Work surfaces
- Feet or glides
- Optional items such as drawers, shelves, and raceways
If everything is ready in advance, the assembly process becomes faster, smoother, and more organized.
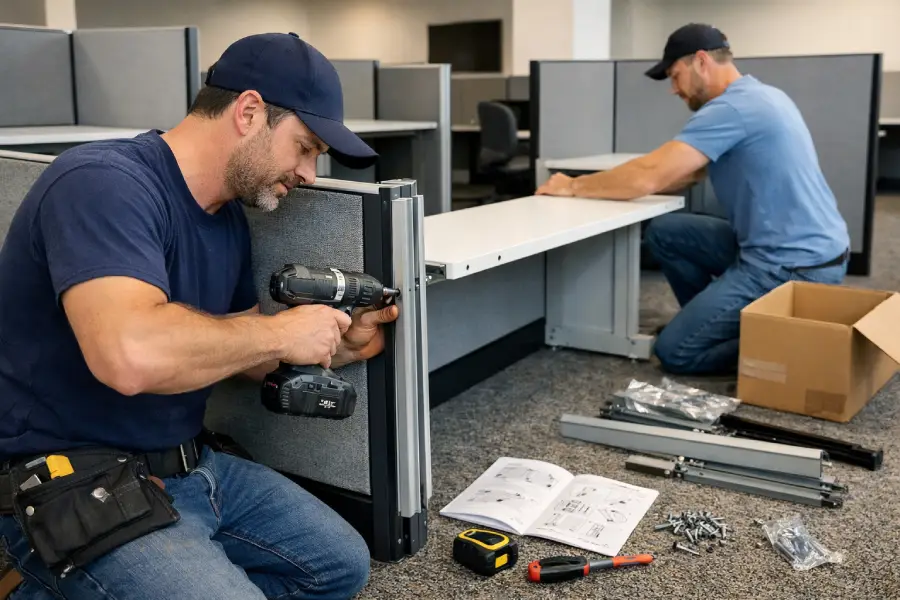
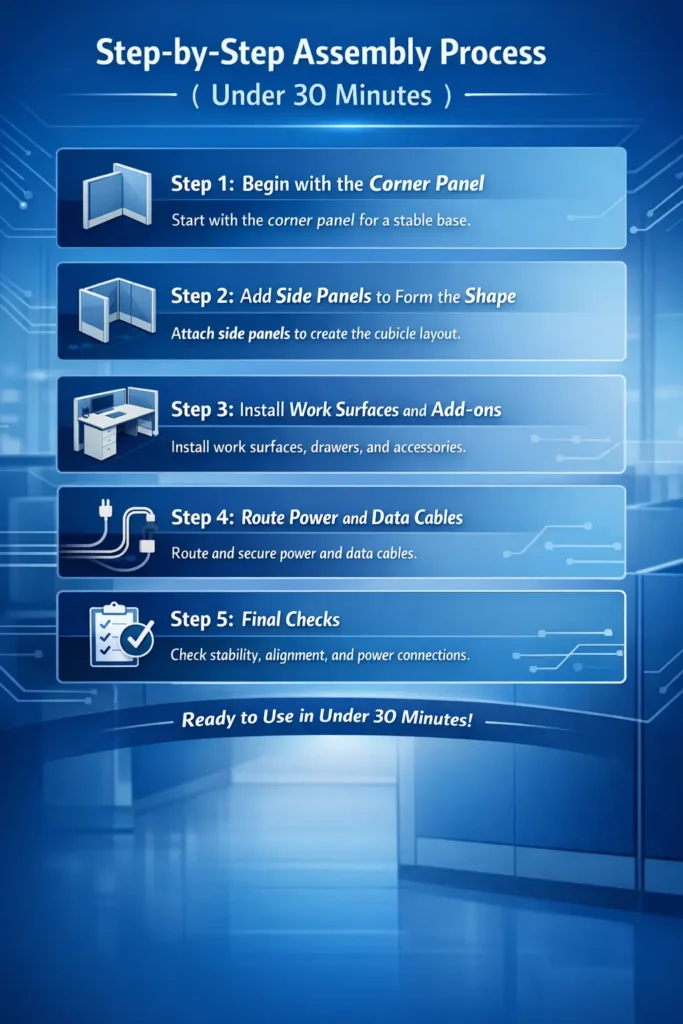
Step-by-Step Assembly Process (Under 30 Minutes)
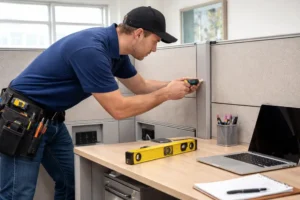
Step 1: Begin with the Corner Panel
To begin the assembly process, start with one corner of the cubicle.
Attach the first panel to a post or connector using the built-in hardware.
Most modern modular cubicles use an interlocking or slide-and-click design, which makes this step fast and simple.
Starting with the corner panel helps create a stable base for the rest of the structure.
It also makes the layout easier to follow as you move forward.
Step 2: Add Side Panels to Form the Shape
Next, add the side panels to build the final shape of the cubicle.
Continue attaching the panels until the layout forms an L-shape, U-shape, or a single-wall structure, depending on your office design.
As you work, make sure each post is level.
Adjustable feet can help you fine-tune the height and keep the cubicle balanced.
This step is important because a level frame gives the entire structure better stability and a cleaner look.
Step 3: Install Work Surfaces and Add-ons
Once the main frame is in place, attach the work surfaces to the panel structure.
Most cubicles use built-in brackets, which make this step simple and secure.
Make sure each surface is fitted properly and feels stable before moving on.
After that, add any extra features you need.
These may include drawers, monitor arms, file cabinets, or privacy panels.
These add-ons can improve comfort, storage, and privacy, while also making the workspace more practical and efficient.
Step 4: Route Power and Data Cables
After the main structure is set up, route the power and data cables through the cubicle.
If your system includes built-in raceways, use them to keep cables hidden and organized.
This helps create a cleaner workspace and reduces clutter.
Use cable clips or cable ties to secure the wires in place.
This prevents tangling and makes future access easier.
Good cable management also improves safety and gives the cubicle a more professional look.
Step 5: Final Checks
 Step 5: Final Checks
Before finishing, take a few minutes to do a full final check.
First, make sure all connections are tight and secure.
Loose parts can affect both safety and stability.
Next, check that the cubicle is level and properly aligned.
A straight setup gives the workspace a cleaner look and helps everything stay in place.
Then, test the work surfaces to make sure they are sturdy and can handle daily use.
If your cubicle includes power access, test it as well.
Make sure the outlets or power connections are working correctly.
These final checks help ensure the cubicle is safe, stable, and ready to use.
Expert Tips for Fast, Error-Free Assembly
- Read the product manual before you begin.
This gives you a clear idea of the parts, tools, and assembly steps.
It can save time and help you avoid simple mistakes.
- Watch one full installation video first.
A video can show small but important details that may not be clear in the manual.
This makes the process easier to follow.
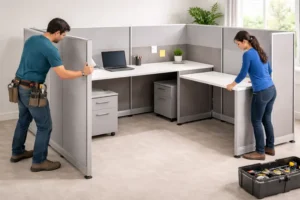
- Work in pairs if possible.
One person can hold the panel in place while the other connects it.
This teamwork can make the office cubicle installation faster, smoother, and safer.
- Use a rubber mallet and a bubble level.
A rubber mallet helps the parts fit together without damage.
A bubble level helps you check that everything is straight and balanced.
- Wear gloves during assembly.
Gloves help keep the surfaces clean and protect the panels from fingerprints or marks.
- Avoid connecting multiple power strips in series.
This can create a safety risk and should be avoided.
A simple and safe power setup is always the better choice.
Time Management: How to Stay Within 30 Minutes
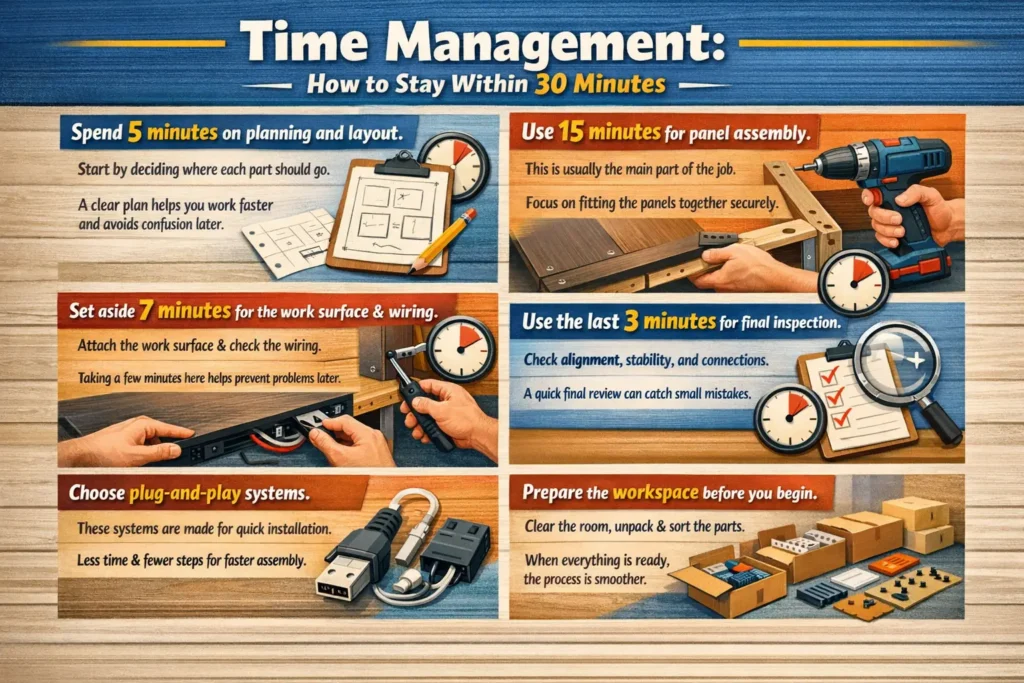
- Spend 5 minutes on planning and layout.
Start by deciding where each part should go.
A clear plan helps you work faster and avoids confusion later.
- Use 15 minutes for panel assembly.
This is usually the main part of the job.
Focus on fitting the panels together securely and in the right order.
- Set aside 7 minutes for the work surface and wiring.
Attach the work surface carefully and check the wiring if your setup includes power.
Taking a few minutes here helps prevent problems later.
- Use the last 3 minutes for final inspection.
Check the alignment, stability, and connections one more time.
A quick final review can help you catch small mistakes before the setup is complete.
- Choose plug-and-play systems.
These systems are made for quick installation.
They usually need less time and fewer steps, which makes them a perfect choice for faster assembly.
- Prepare the workspace before you begin.
Clear the room, unpack all the parts, and sort them in advance.
When everything is ready, the whole process becomes smoother and more efficient.
Conclusion
Assembling an office cubicle does not have to be difficult.
With a clear plan and the right modular system, you can complete the process quickly and with less stress.
A well-designed setup can make a 30-minute assembly very realistic, especially when every part is ready in advance.
This kind of solution is a good choice for startups, remote teams, and small offices that need to save time and work efficiently.
The best system is one that matches your team’s technical comfort level and is easy to install, use, and maintain.
When you choose the right cubicle setup, you create a workspace that is both practical and time-saving.
Use this step-by-step guide to assemble office cubicles and improve both the speed and quality of your office setup.

John Ofield is the owner of Collaborative Office Interiors. Houston’s trusted source for modern and commercial office furniture, office cubicles, demountable walls, office desks and tables, and complete workspace solutions. With more than 40 years of experience, he combines deep product knowledge with hands-on space-planning expertise to create ergonomic, productivity-focused work environments for businesses across Southeast Texas.