How to Measure an Office Space for Furniture?

Preparing and measuring your office space correctly is the first and most crucial step in choosing furniture that perfectly suits your environment and needs.
Now the question is how to measure an office space for furniture?
The answer is simple: To measure office space for furniture accurately, start by measuring the length and width of the room’s walls. Include doorways, windows, and hallway clearances by measuring their height and width.
Don’t forget to note ceiling height and fixed obstacles like columns, vents, or electrical outlets. Create a detailed floor plan with all dimensions clearly marked.
This ensures you select furniture that fits perfectly, maximizes space, and maintains comfortable traffic flow.
Ignoring these steps can lead to costly mistakes.
If the dimensions of the environment are not measured correctly, the commercial office furniture Houston you purchase may either not fit in the available space or may cause clutter and reduce employee productivity.
This guide will help you learn step-by-step how to properly measure your office space.
Our goal is to provide a comprehensive guide to enable you to create an accurate map of your office that will serve as the basis for all your subsequent furniture purchasing decisions.
Let’s learn together how to best prepare the space you have for furniture arrangement using simple tools and the right methods.
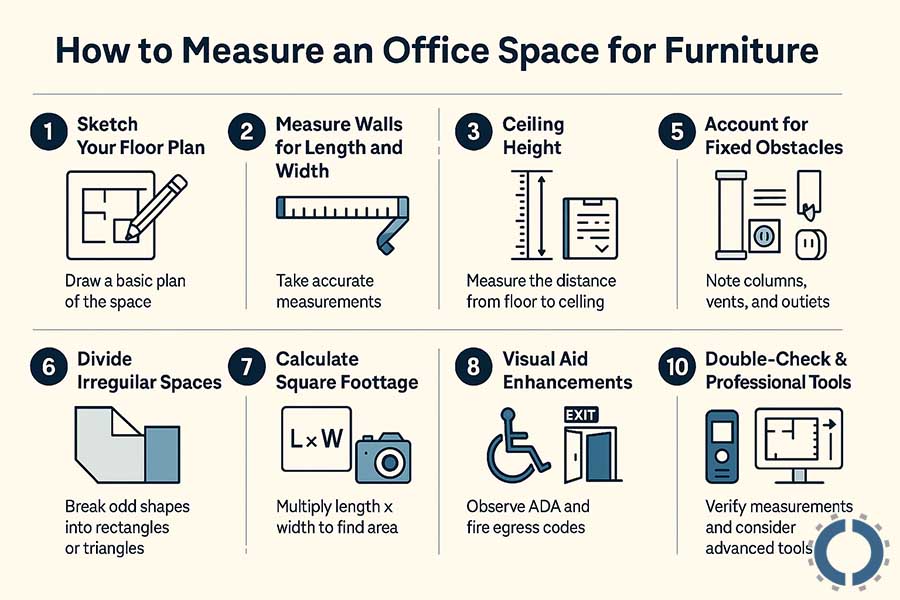
Step 1: Sketch Your Floor Plan
The first step in accurately measuring office space for furniture layout is to draw a basic plan of the space.
This step will help you visually see all the spaces and properly record and organize the measurement information.
- Begin with a rough hand-drawn outline: Take a blank sheet of paper and sketch out a general outline of your office space by hand.
The plan doesn’t need to be exact or to scale at this point, just roughly sketch out the walls, rooms, and main areas.
- Label separate rooms and areas: For greater clarity, note the use of each part of the map.
This will help you know which space each number corresponds to when measuring.
- Number or alphabetize for clarity: If the plan includes several similar or repetitive spaces, such as several office rooms in a row, you can identify them with numbers or letters.
This helps you avoid confusion when writing down measurements and makes it easy to track the information for each section.
You Might Also Enjoy: Where to Donate Office Furniture in Houston [2026 Guide]
Step 2: Measure Walls for Length and Width
At this stage, you should take accurate measurements of the walls of the office space to determine how much space you have for arranging furniture.
This step is the most basic part of the space measurement process, and being careful in it will prevent later mistakes in purchasing or placing furniture.
- Start in a fixed corner, move clockwise: Choose a fixed point in one corner of the room and start measuring from there.
Then move clockwise in order to record all the walls without missing a spot.
This method helps keep the workflow neat, precise, and organized.
- Record each wall’s length: Using a tape measure or laser meter, measure the length of each wall from corner to corner.
If a wall has a break or dent, measure it separately and mark it on the map.
- Double-check overall room dimensions: After you have recorded the lengths of all the walls, compare the totals of the opposite lengths to make sure the numbers match and there are no measurement errors.
Step 3: Ceiling Height
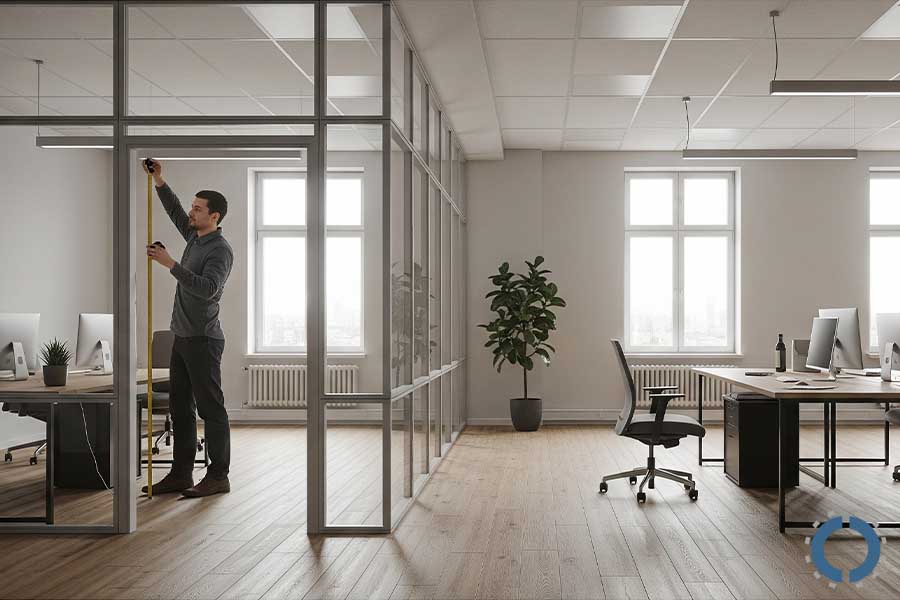
Ceiling height is an important factor in office furniture layout, especially in choosing shelves, tall files, partitions, and even lighting.
If this measurement is not done accurately, you may have problems installing the equipment or the layout.
- Measure from floor to ceiling: Using a tape measure or laser meter, measure the exact distance from the floor to the ceiling.
If possible, check this measurement in several different spots in the space to make sure the ceiling is completely level.
- Note drops for moldings, beams, or HVAC ductwork: Some ceilings have elements such as moldings, structural or decorative beams, and HVAC ductwork.
These areas may reduce the overall height of the ceiling and affect the placement of tall furniture or lighting.
Be sure to measure these points and mark them on the map.
Step 4: Measure Access and Openings
In order for the furniture to easily enter the office space and be placed in the right place, you need to measure the exact dimensions of access routes, such as doors, hallways, and windows.
This step is crucial to prevent furniture from getting stuck when moving or blocking movement spaces.
If the doorways or hallways are narrow or short to accommodate some large pieces of furniture, you should consider suitable options in advance or purchase ready-to-assemble furniture.
- Measure doorways and hallways: Measure the distance between the inner edges of the two sides of the door frame with a meter.
Also, record the distance from the floor to the top of the door frame.
Determine whether the door opens inward or outward, and which way is right or left.
This will help you arrange furniture so that the doors don’t get blocked.
- Include window dimensions: Measure the width of the window from the left edge to the right edge of the window frame.
Also consider the thickness of the frame around the window.
The height of the window sill to the floor is important for arranging a desk or file under the window.
Step 5: Account for Fixed Obstacles
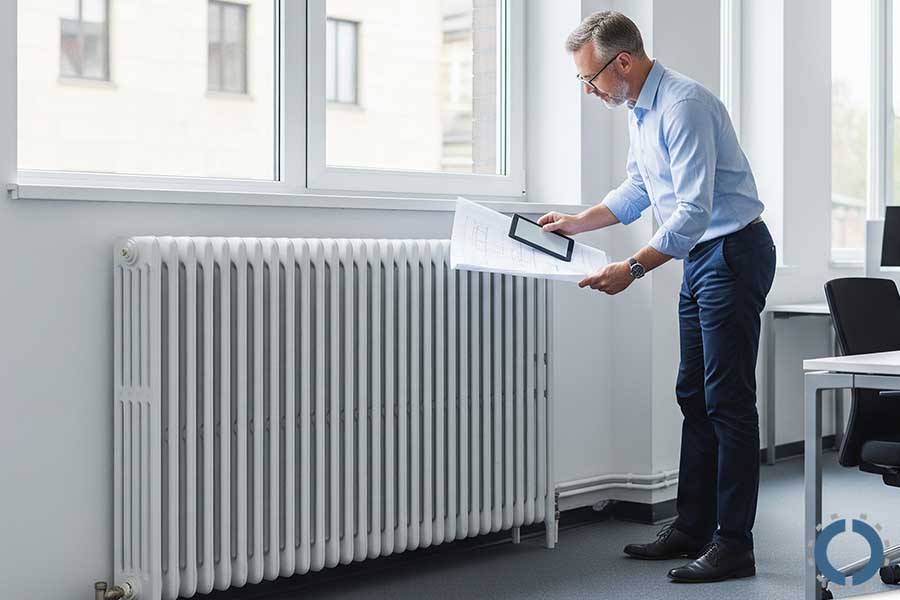
In every office space, there are fixed elements that cannot be moved and must be considered when designing the furniture layout.
These elements may cause restrictions on the installation of tables, cabinets, or partitions, so their location and dimensions must be precisely determined.
- Identify obstacles: One of the most important items that cannot be moved is fixed elements or built-ins, such as wall cabinets or shelves that are permanently mounted to the wall.
These structures should be identified in the initial plan so that they do not interfere with the placement of new furniture.
Radiators and heating or cooling (HVAC) systems are also fixed equipment that is usually located next to the wall or under the window and may take up some of the usable space of the room.
In some spaces, structural columns and beams are located in the middle or corners of the room, and their location and dimensions must be precisely determined, as these obstacles can create serious limitations in the layout.
Vents and air ducts should also be identified to ensure that furniture does not block airflow or obstruct air intake and exhaust paths.
Finally, light switches and electrical outlets, and their access, should not be overlooked.
- Measure distance from walls and floor: Carefully measure the distance from each obstacle to the nearest wall.
Especially for outlets, radiators, or vents, also record their height from the ground.
Measure the length, width, and depth of each obstacle and mark it on your map.
Step 6: Divide Irregular Spaces
In some offices, we encounter spaces that do not have a regular geometric shape, such as a square or rectangle; these spaces may have diagonal corners, curves, or protrusions that make measuring them a little more complicated.
To accurately calculate the area of these types of spaces, we need to divide them into simpler sections.
- Break odd shapes into rectangles or triangles: At this point, divide the overall shape of the space into rectangles, squares, or triangles so that each section can be measured individually.
For example, if you have a diagonal corner in the room, consider that area as a separate triangle.
This way, instead of measuring a complex shape, you will have a few simple, measurable parts.
- Measure each section separately and calculate the combined area: After dividing the space into these simple sections, measure each section separately and calculate its area.
Finally, add up these areas to get the exact area of the entire irregular space.
This method is useful both for determining the overall area of the space and for placing furniture in areas that do not follow a typical pattern.
Step 7: Calculate Square Footage
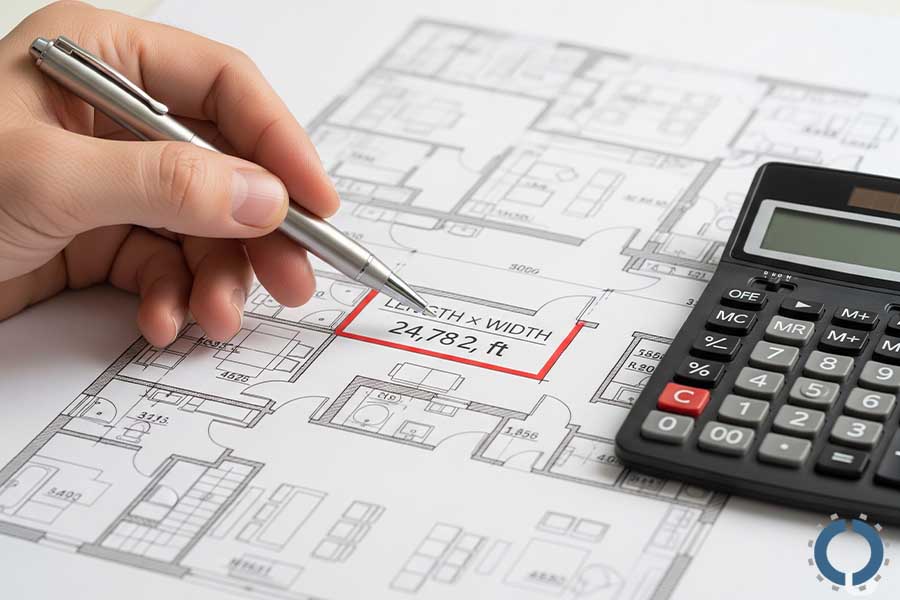
After you have measured the different sections of the office space and divided them into simpler sections, it is now time to calculate the total area of the usable space.
- Multiply length × width for each area: To do this, simply multiply the length and width of each section to get the area of that part.
If you have spaces with irregular shapes, such as triangles or diagonal corners, use the appropriate formulas to calculate them.
- Sum all zones for total usable area: After calculating the area of all the parts, add them together to determine the total area of the perimeter.
- This number can be in square meters or square feet, depending on what units you are working with.
- Useful for estimates and planning: Knowing this number will help you more accurately plan furniture arrangement, equipment placement, and even cost estimates.
It will also be very valuable and helpful to have an accurate number of usable space when consulting with interior designers or furniture suppliers.
This simple but very key step is the foundation of an efficient and principled design for your office environment.
You Might Also Enjoy: How to Arrange Office Furniture in 2026
Step 8: Visual Aid Enhancements
To make the measured information more useful, accurate, and understandable to others, you should supplement the maps with descriptions and images.
This step helps to better transfer information and minimizes the possibility of layout errors.
- Annotate sketches: On your manual or digital map, write down all the measurements you took in the previous steps clearly and neatly.
These measurements include the length and width of the walls, the location of doors, windows, and outlets, the direction the doors open, and the height of the ceiling.
- Take photos: Take photos of walls, corners, doors, windows, columns, and any special or intricate parts of the space.
These images are a great complement to the map.
Images will also be very useful when selecting or ordering furniture, helping other team members or the designer understand the space without the need for physical presence.
Step 9: Consider Legal and Ergonomic Requirements
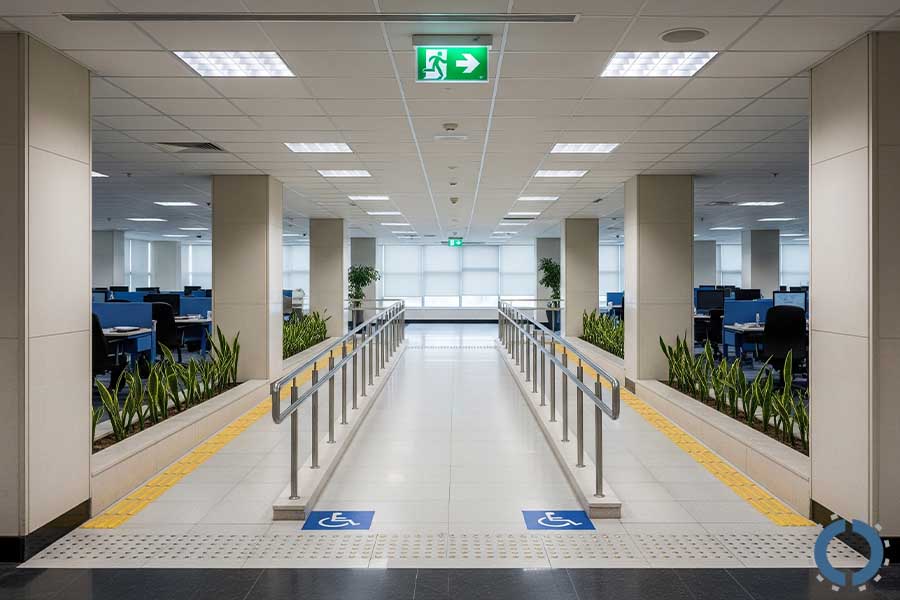
Along with measurements and furniture arrangement, it is also very important to pay attention to legal requirements and ergonomic standards.
This not only helps keep people safe in the space but also increases productivity, comfort, and the smooth flow of movement in the workplace.
- Observe ADA and fire egress codes: If you operate in a country like the United States, you must consider the requirements of the ADA (Americans with Disabilities Act) when designing your office space; these laws ensure that people with disabilities can easily move around and work in the space.
Also, emergency exit routes (Fire Egress) must always be open, unobstructed, and wide enough to allow for quick and safe exit in times of danger.
- Ensure walkways are sufficient for clearance and flow: When arranging furniture, you need to make sure there is enough space to move freely between tables, walls, chairs, and other equipment.
Make sure there is enough space behind the seats to back up without hitting an obstacle.
Step 10: Double‑Check & Professional Tools
At the end of the measurement process, it is important to be completely confident in the accuracy of all the data you have collected.
A small mistake in the numbers can cause serious problems in the arrangement and ordering of furniture.
For this reason, this step is considered the last and most important step.
- Verify measurements twice: Review all the measurements you took in the previous steps and measure again.
This helps ensure that if a mistake occurs, it can be corrected promptly and prevents future problems, such as furniture not matching the space.
- Using professional tools for greater accuracy: If you need high accuracy in measurements or professional mapping, using advanced tools is highly recommended.
Laser Measurer is one of the most practical tools that allows you to make very accurate measurements in a short time without human error; this tool is especially useful in large spaces or at high altitudes.
Also, using design software such as CAD allows you to draw accurate maps at the correct scale and easily edit and update them if needed.
Conclusion
Accurately measuring office space is the foundation of a principled, practical, and hassle-free layout.
In this article, we have explained all the essential tips and steps to answer the question of how to measure office space for furniture.
Following this process according to the steps mentioned will not only prevent costly mistakes in purchasing or installing furniture but will also help you design the space intelligently, safely, and in line with your business needs.
Using drawings with detailed measurements and notes is a great advantage when ordering furniture or consulting with designers, minimizing the possibility of error.
Once the measurement phase is complete, the next steps include designing the final layout, reviewing distances and movement routes, and considering future needs such as team expansion or adding new equipment.
With a detailed and comprehensive plan, you can optimize your current space and prepare it for future growth and changes.

John Ofield is the owner of Collaborative Office Interiors. Houston’s trusted source for modern and commercial office furniture, office cubicles, demountable walls, office desks and tables, and complete workspace solutions. With more than 40 years of experience, he combines deep product knowledge with hands-on space-planning expertise to create ergonomic, productivity-focused work environments for businesses across Southeast Texas.


